3D列印的流程如下
1. 繪製圖形並產出STL檔案
2. 將STL檔案經由切片軟體轉成3D列印機可讀取的G代碼
3. 3D列印機讀取G代碼,列印成形
由上面流程可知在3D列印前需要有G代碼
而G代碼是由STL檔案丟入切片軟體運算後所產生
因此3D列印前需要準備STL檔案
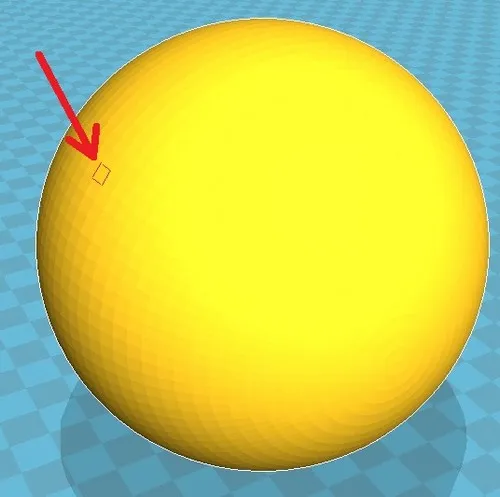
另外必須注意的是,繪圖軟體產出的STL檔案,若解析度不夠,列印出來的效果就不佳
下面兩個圖片,可以比較解析度差異對於列印結果的影響

而各種不同的繪圖軟體匯出STL檔案方法各有不同
以下對各種繪圖軟體分別介紹
3DS MAX
1.選單>導出> StereoLitho(* .STL)
2.物件名稱:名稱輸入要以STL的格式儲存。
3.二進制/ ASCII: 選擇STL輸出檔案是二進制還是ASCII(字符)數據。
4.選擇要匯出的物件。
引用原廠解說
https://help.autodesk.com/view/3DSMAX/2023/ENU/?guid=GUID-683E0312-F28B-46E4-860E-BDFE92B6ABBE
AutoCAD
- Click Application menu Export Other Formats. Find
- In the Export Data dialog box, enter a file name.
- Under Files of type, select Lithography (*.stl). Click Save.
- Select one or more solid objects. All objects must be entirely within the positive XYZ octant of the world coordinate system (WCS). That is, their X, Y, and Z coordinates must be greater than zero.
The file extension .stl is automatically appended to the file name.
引用原廠解說
Catia
Select the File > Save As… command.
In the Save As dialog box, select the location of the document to be saved.
Click the Save as type: list.
Select the STL type from the list displayed.
Click Save to confirm the operation and quit the command.
引用原廠解說
http://catiadoc.free.fr/online/itfug_C2/itfugbt0500.htm
Creo
- Once you’ve finished your model choose the File menu and select “Save As” and then “Save as a Copy”
- Change your file type to .stl.
- Name your file.
- Click OK… An “Export STL” dialogue box should appear.
- Change the “Chord Height” variable to “0”
- Change the “Angle Control” variable to 1.
- Click OK.
Fusion 360
- Navigate to the Tools tab in the toolbar.
- Click 3D Print from the Make menu.
- Select the bodies that you want to export.
- Deselect the option to Send to 3D Print Utility.
- Click OK.
引用原廠解說
Inventor
- Navigate to File>Save As>Save Copy As.
- Select Save as type and select STL.
- Select Options and input your required scale settings.
引用原廠解說
Maya
點選「File」→「Export All」或「Export Selection」,即可在 File type 選單內找到
STL 的選項。
Rhino
- Select ‘STL (Stereolithography) (*. stl)’ on the Save as type input box.
- Set a name to the file.
- Press ‘Save’ to go to the next step.
SketchUP
- Select File > Export > 3D Model. The Export Model dialog box appears.
- Navigate to the location where you want to save your exported file.
- (Optional) In the appropriate text box, type a name for the exported STL file.
- From the Save As Type drop-down list, select STereolithography File (.stl).
- (Optional) Click the Options button, and in the STL Export Options dialog box, select your desired options for the exported STL file. (See the following list for details about each option.) Click OK when you’re done.
- Back in the Export Model dialog box, click Export. SketchUp exports your model to the STL format and saves the file in the location you specified.
引用原廠解說
https://help.sketchup.com/en/sketchup/importing-and-exporting-stl-files-3d-printing
Solid Edge
- File > Save As (Save As dialog box opens)
- From the Save as type drop-down menu select STL (*.stl)
- Click Options.
- The Export Options dialog box will display the file in a tessellated view.
- File Format selection is STL.
SolidWorks
- Click File > Save As.
- Select STL (*.stl) for Save as type, then click Options.
- Select from the options described below, then click OK.
- Click Save to export the document.
引用原廠解說
https://help.solidworks.com/2014/english/solidworks/sldworks/hidd_stl.htm
Zbrush
- Download the 3D Print Exporter Plugin from ZBrush.
- Select the ZPlugin menu.
- Click 3D Print Exporter.
- Define and scale your dimensions.
- Select STL > STL Export.
- Save.